
This is the second part in a three part series. The first part can be found here. The third part can be found here.
Hello, I'm James Tolley, the founder of Shared Reality, and this is Part II of How to Author an Argument Map.
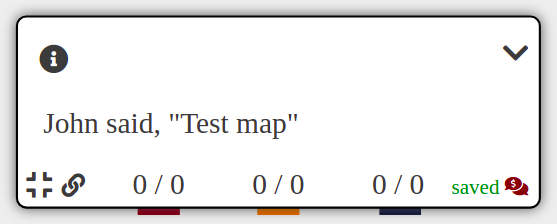
So, we have filled out the form to create the basic map, and now it is time to start editing that map. I can just go ahead and edit the map, by clicking on the Edit Map tab, which opens the editor. What I will see is the title of the map will show up as the "Claim" node - and so far there will be no other nodes. I can zoom in and out using mouse scrolling, or by using the plus and minus buttons in the bottom right corner. I can double click to edit the text of this claim. I’ll just add “John said” so that it's a claim. It's actually made up of two claims: one is that John said that, and the other one is that it's accurate. So we can add parts to the claim, to break it out into two arguments.
Now, what I can do is add a child to clarify, because we want every node to be very, very clear so that it can be addressed and assessed on its own merits. I click on the menu for the node, and select "Add Child" which will give us this popup form.
So I can add a "part" child, which will be “John said it”. That would be one part 1. After a moment, the new node will appear. I can drag it around, put it wherever I want. You can see that it's draft at first. I'm logged in as the editor, so i can just have a field day here and do what I like with it; as the editor, you control the document you can publish nodes. So, I can take the draft node, click the menu and select Publish Node.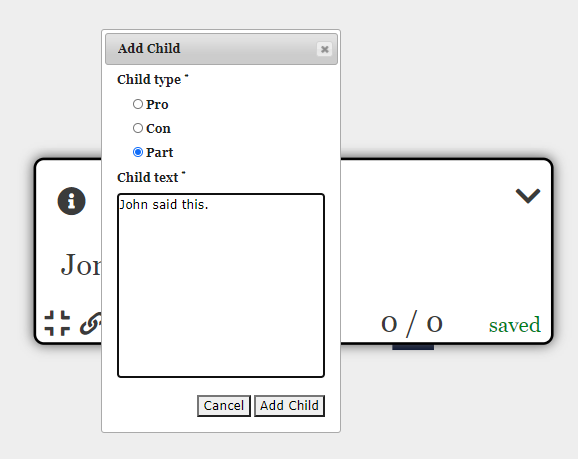
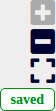
If you are not an editor – a.k.a. a Mediator - you will not have that option; this is so that a Mediator can have a chance to check the node for any loaded language or rule violations – you can learn more about that here. During the few moments after making changes to a node, or after publishing it, it says “saving” in the bottom right corner.
Then in that spot, it should say “saved”. If there is some kind of problem, it will instead say “error” in that spot. Assuming it is successfully saved after an editor publishes it, the (red) word “draft” will disappear from the left-hand side of the node at that same time. So long as you have draft nodes, there will also be a warning in the top right corner of the map editor page. This is useful not only for Mediators (or those with full editor privileges, who can publish nodes), but also for authors when deciding whether to publish the argument map, and whether to make the map itself visible (“open to the public”).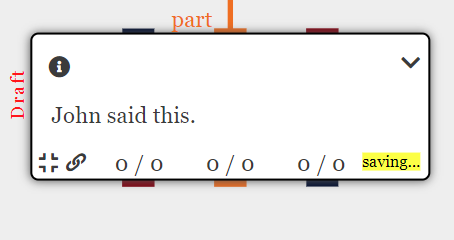

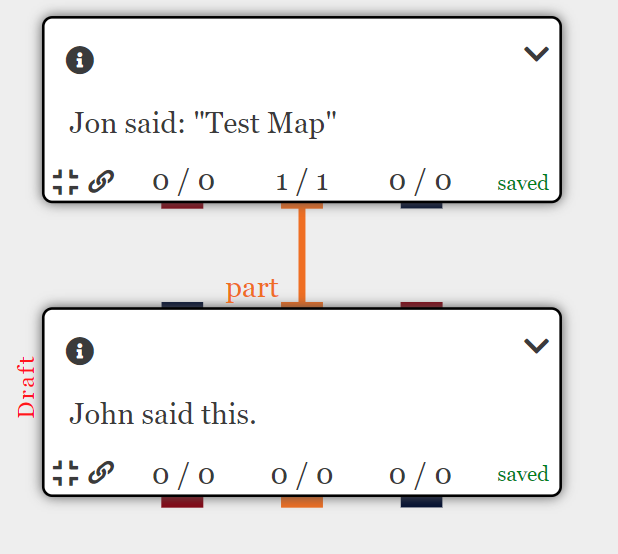
I will add another “part” child node, and that will be whether or not it's accurate. For the few moments it takes, after I fill out the initial pop-up – choosing what type of type (‘part’ in this case), and writing the argument, all of which can be changed if necessary – you can see a “saving...” notice in bottom right-hand corner of the map editor.
When first added, it may be created on top of the first node, but you can simply drag it to one side, and align it nicely next to the first child. Although I published that first one, the second one is created as a draft again. Although I can publish these because I am a Mediator, as an author of a new map, one will have to leave them as draft nodes.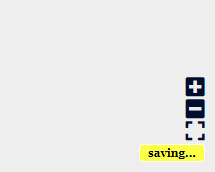

Everybody's got some bias but we want to actually just be super clear with what we're trying to communicate. We don't want to insinuate a lot of things - or anything, really - because it just muddies the conversation. Each node should also have one topic of conversation, one idea at a time. That way, people can really focus on the same topic at the same time and not be distracted by all of the other unrelated information around that topic. The Mediator can help with this, but the author should also do their best.
So, as author, I can drag this new node around, or I can drag the whole map. Or, I can drag a node plus its descendants, in other words, a branch of the map (which you can see clearly, as the rest of the map becomes shaded when you click on your node), by dragging the top node in the branch.
For example, if I add a child to my published node (on the right), I might then want to move the node and it’s child further right, to make room a third “part” node between the two I already have.
If I want only to move the parent node (“John said this”) but not its child, I can do this by holding down the CTRL key while I drag it.
If I just want to move the child node (“No he didn’t”) which has no children of its own, I can just click and drag as normal.

I can add child nodes to any of my own nodes and any published nodes created by others.
As editor, I can even add to draft nodes of others, but as author I need to wait until they are published.
In fact you can't even see other people's unpublished nodes because they haven't been okayed by the Mediator and published yet.
So, as author, I can see some other options in the node’s menu (shown above, only the publish option is missing for authors).
For example, I can change the type. I could change the draft “part” node (“It is accurate”) to a “pro” type if I feel like I made a mistake there.
Or, I can change the parent node. Perhaps I realize that my argument and evidence better supports or contradicts a different node, so I want to make it a “pro” or “con” child node for that node rather than the one to which I had added it.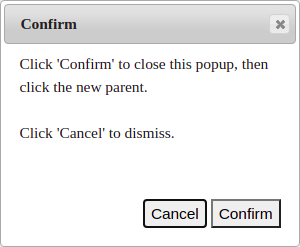
In order to do that I click “change parent” in the menu of the node I want to move. A popup will appear and I can click “confirm” and then click the new parent node. After a moment, the nodes will appear in the new place, with their new parent. You can then drag them around, if they are not aligned as you would like.
After changing parent and type on your nodes, a rearranged map might look like this.
That's it for now. Look out for Part III, coming soon.